Tyre clearance for mud and fenders: leave room for both
A tyre that fits a clean frame can stop fitting once the route supplies mud. Add a fender and you have given the same space another job. Plan the whole envelope before selecting the widest tyre in the specification.
Measure the inflated tyre on the intended rim, including tread knobs. Check sides and above the tyre at every tight point. Mud and debris can collect where a static width check looked fine. The required margin comes from the frame and accessory instructions, not a universal millimetre number borrowed from another bike.
A bolt hole is not a complete fender plan
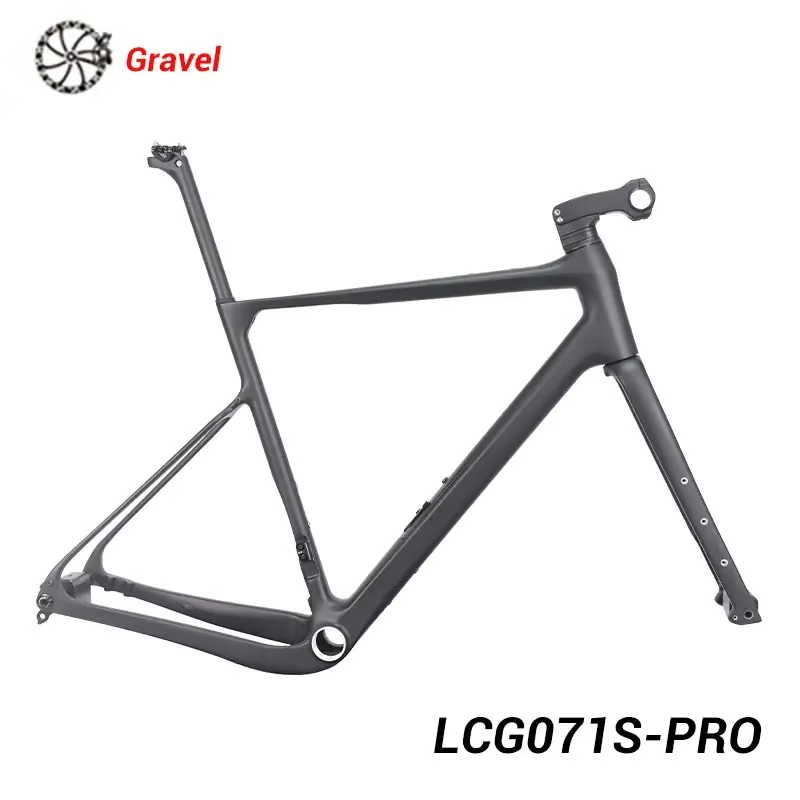
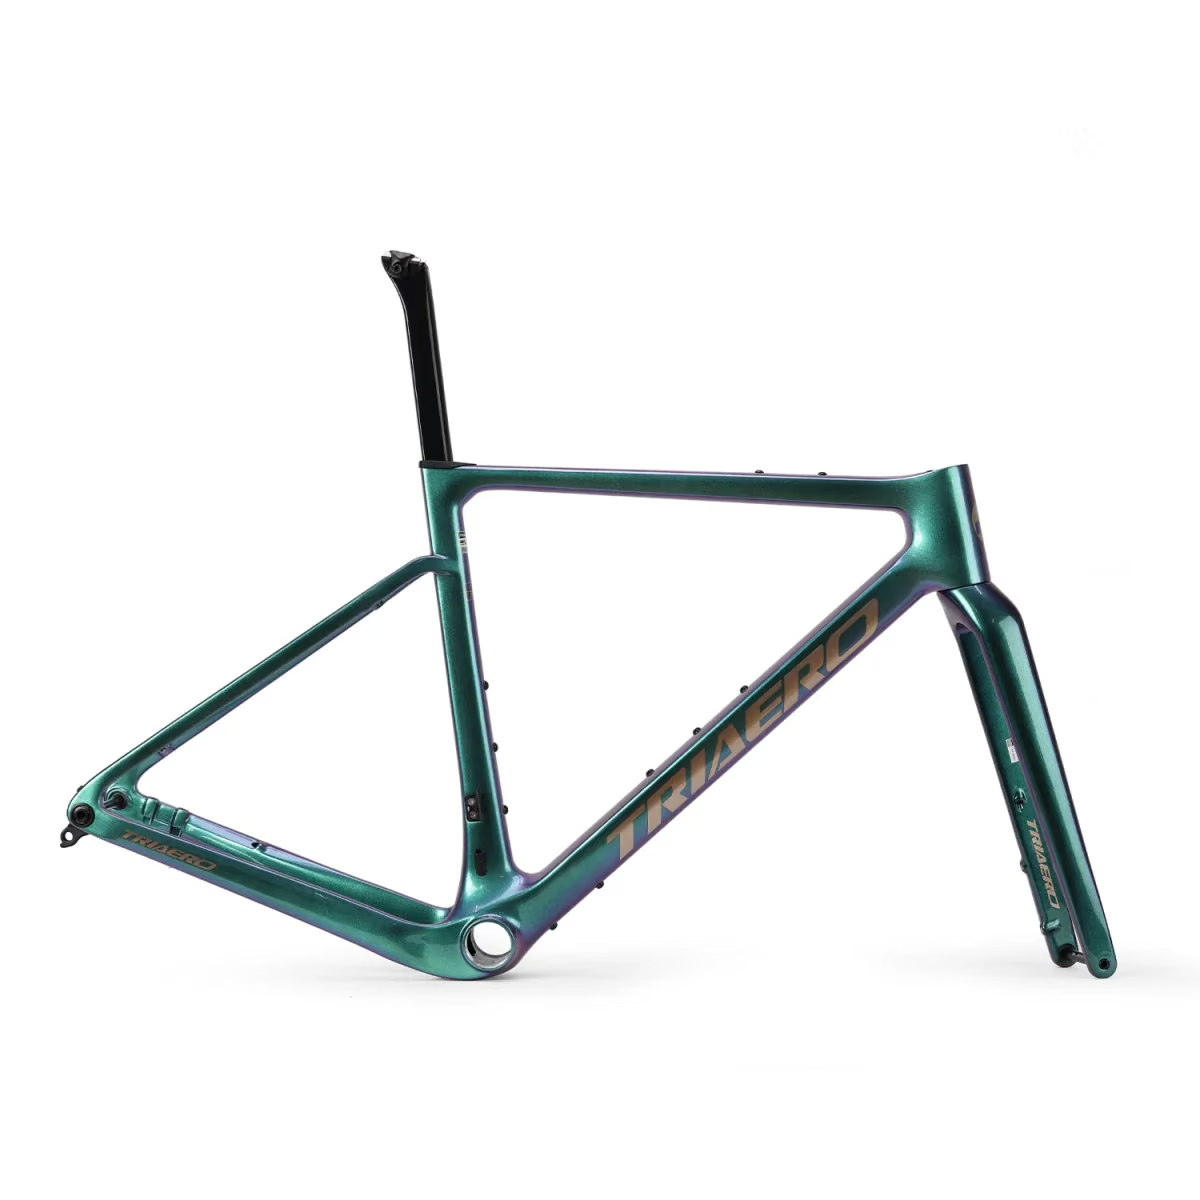
The GRARO and LCG071S-PRO have their own mounting and clearance records. Confirm the exact fork supplied: revisions can change mounting provisions. Specify the fender model, width, stays and approved attachment method. Do not drill carbon or assume a luggage mount is also the intended fender mount.
The GRARO page lists 700C × 45 mm and a fork option labelled “Without Mounting Bolts”; LightCarbon’s S-PRO page describes fork-leg rivets for luggage or bottles. These answer different questions. Neither statement specifies the approved fender, its attachment points or the remaining radial gap. Ask the seller and assembler for those three answers before ordering.
Have the assembler verify the complete tyre/fender arrangement, secure stays and wheel movement under the maker’s requirements. A smaller approved tyre can be the useful choice if it leaves the necessary envelope. Keep the bare-tyre maximum out of the wet-weather shopping list until the complete setup is checked.
During rides, stop if debris packs into the gap or anything rubs. Inspect and clear the obstruction safely rather than relying on pedalling to grind it away. More clearance is useful only if the mounts and accessories are suitable too.