Road-bike front-end height: start at the hoods, not the head tube
Two frames can have the same stack and leave your hands in different places. The frame ends at the top of the head tube; your hands do not. To choose a front end you can live with, work backward from the position at the hoods and include everything between the frame and your fingers.
On a bike whose position works for you, record saddle and hood positions with consistent reference points. A fitter can help obtain useful coordinates relative to the bottom bracket. Do not compare a bar-top measurement from one bike with the top of a hood from another. They answer different questions.
A hypothetical 20 mm increase in desired hand height is a target for the complete setup. It is not an instruction to add 20 mm of spacers: spacer direction, stem angle and bar geometry also enter the result.
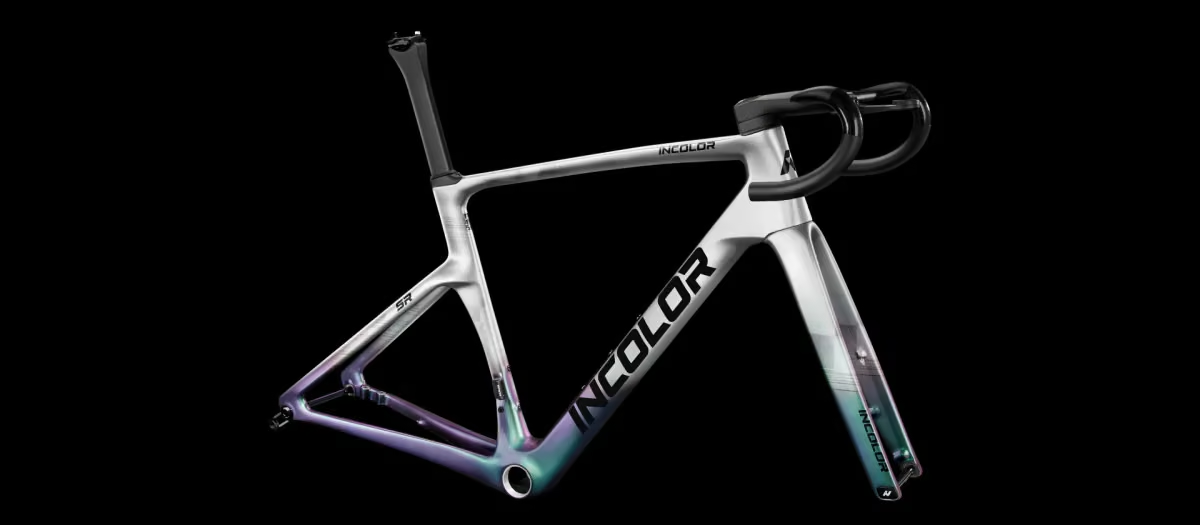
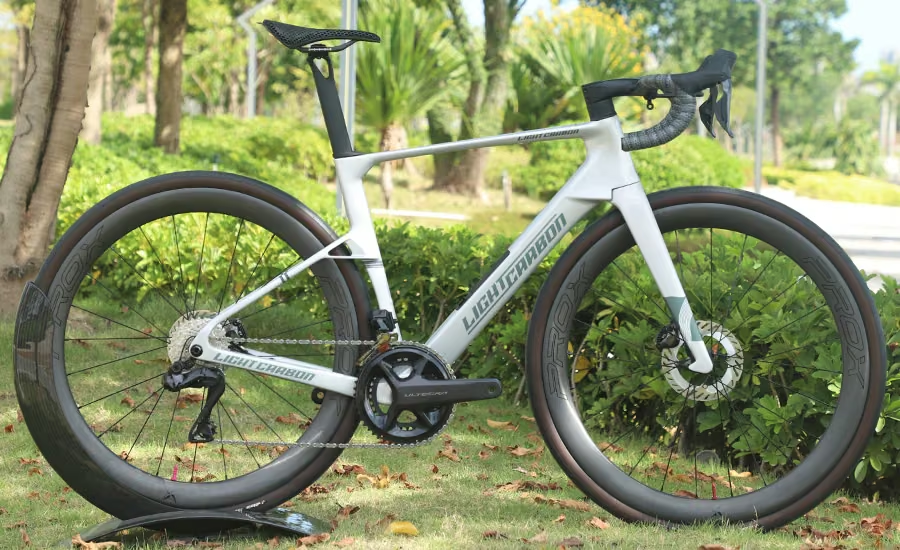
For the INCOLOR Speedster SR, obtain the drawing for the supplied cockpit system. For the LightCarbon LCR018-D, first resolve the qualified geometry record. A pile of precise component measurements cannot repair an uncertain starting value.
LightCarbon LCR018-D · Model detailsManufacturer’s example build on the LCR018-D frameset; pictured parts are not a confirmed sale package.LightCarbon; see sourcePhoto unavailable; open the source to view it.
Choose usable adjustment, then appearance
Compare the target with the manufacturer-approved combinations, including insertion and clamping requirements. Ask the assembler to show which configurations reach it and how much permitted adjustment remains. Keep saddle position tied to your fit; moving it forward simply to shorten the cockpit changes another part of the setup.