
Pack a tubeless repair kit you can actually use
The tiny tool under the saddle is reassuring until you discover it has no plugs left. Check the contents, not just the bag. A good repair kit includes a way to inflate, a repair you have practised and a plan for the puncture it cannot fix.
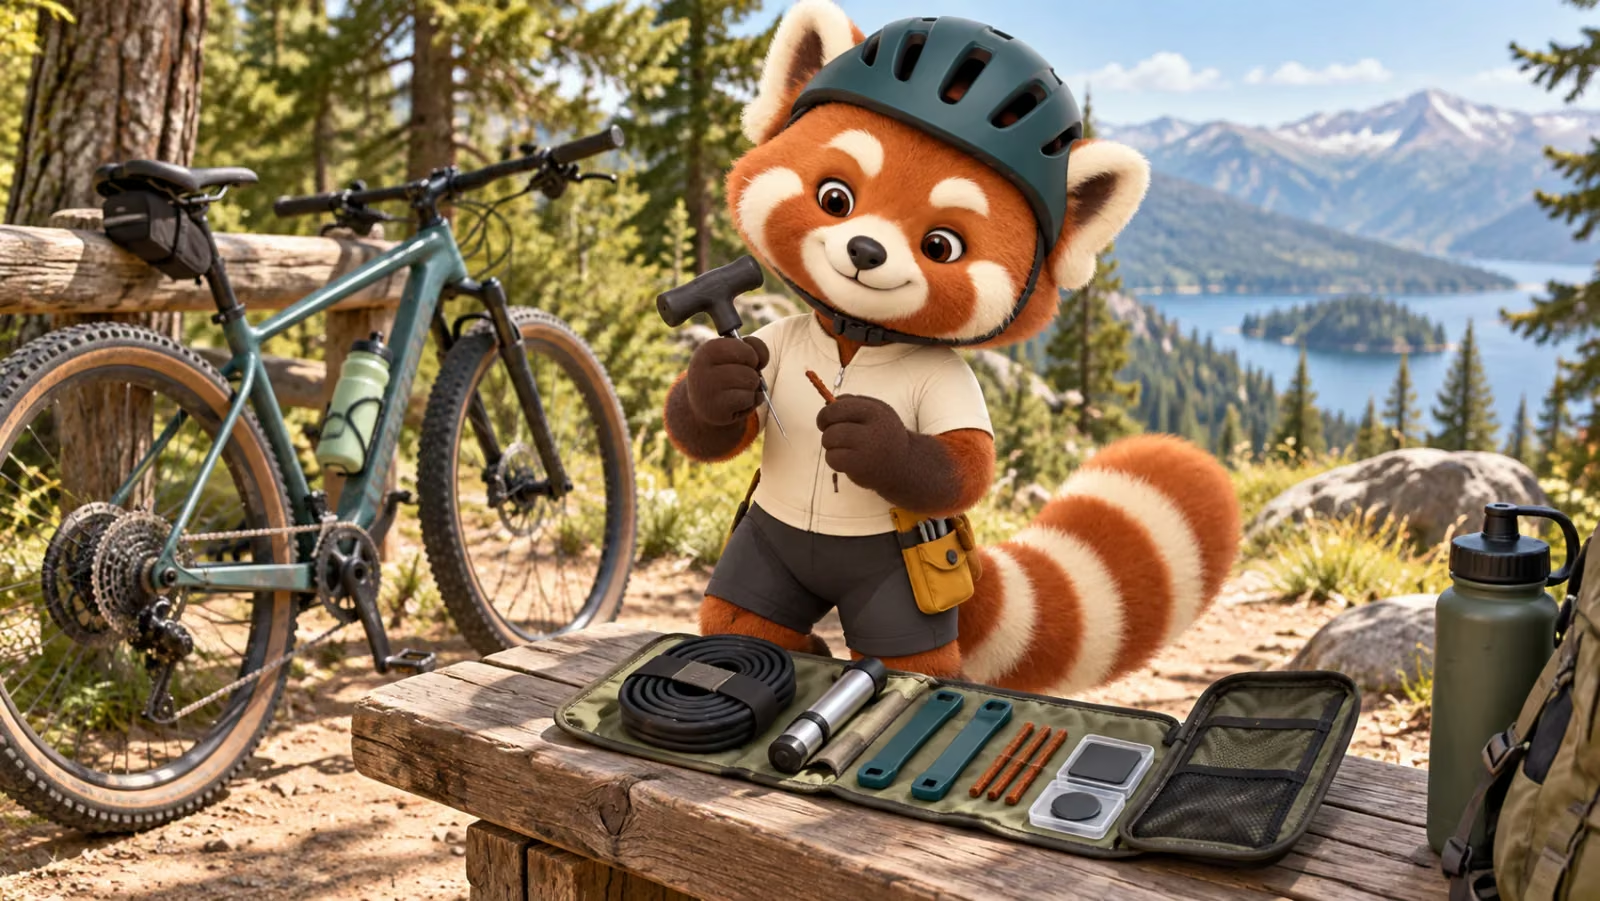
Give every item a job
For a GRARO build, carry a plug system appropriate to the tyre, suitable inflation, wheel-removal tools and a valve tool if the repair plan requires it. Add a correctly sized tube only when the rim/tyre combination permits one; hookless conditions still apply. Keep unused plugs clean and inspect the inflator before leaving.
| Item | Test |
|---|---|
| Plug tool | Correct consumables present; instructions understood |
| Inflation | Works with the valve; enough capacity for the plan |
| Backup tube | Permitted combination, size and valve length |
| Wheel tool | Fits the actual axle |
| Exit plan | Contact and route location available offline |

Practise at home, not at the roadside
Use the specific tool’s instructions. Dynaplug’s manufacturer instructions are an example for that tool family, not a universal procedure for other plugs. Ask the assembler to show wheel removal and the permitted backup repair. Confirm you can inflate a repaired tyre with what is in your bag.
The linked tips sheet distinguishes tool-specific insertion tubes and a shorter plug for Road Air. “Dynaplug refills” is therefore an incomplete packing note. Record the tool version and matching refill, then check the loaded parts. Matching a consumable does not establish that every tyre injury is repairable.
Some damage ends the ride
A plug is not a repair for every casing cut, bead failure or damaged rim. Stop for structural damage, unstable tyre seating or an inability to retain safe pressure. Arrange pickup rather than riding a flat carbon wheel home. After any roadside repair, have the tyre assessed under its maker’s guidance before treating it as a permanent fix.
Sources
Source review began . Research methodology.