
A Chinese road bike for long rides: build for the final hour
The first hour rarely exposes a bad long-distance build. The final climb, the rough lane home and the position you can no longer hold are more revealing. Make those moments the design brief for your next road bike.
Use one recent long ride as evidence
Write down what limited the ride: an overly hard lowest gear, a hand position you avoided, inadequate carrying space or repeated punctures. Separate equipment problems from a route or pacing choice. A new frame should address a specific limitation; it cannot make an unrealistic day plan sensible by itself.
If you are still choosing the type of frame, use the endurance or aero guide to narrow the choice before picking the parts.
Plan the contact points before the paint
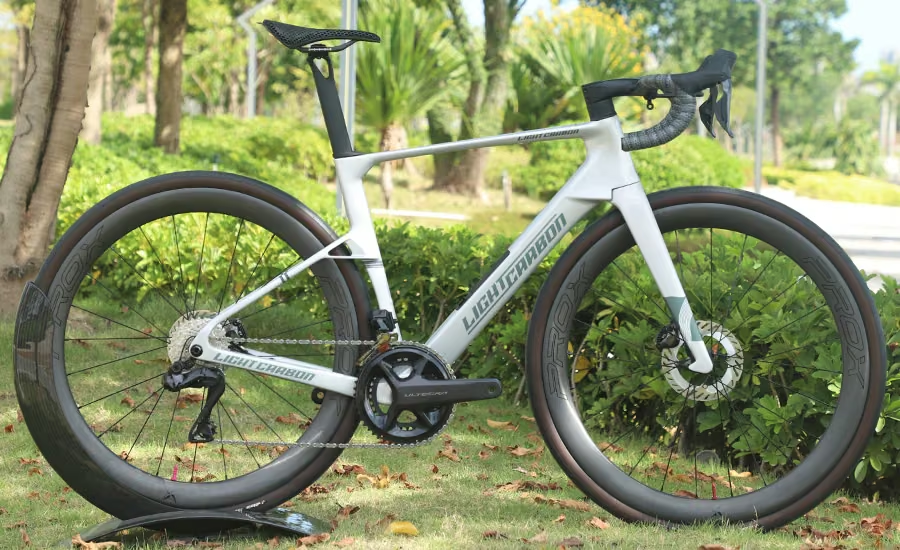
Use a known comfortable saddle position and cockpit as a starting reference. Check that the chosen frame, post and approved cockpit can reproduce them with adjustment remaining. The LightCarbon LCR018-D record includes geometry evidence and its limitations; do not turn a conflicting or differently labelled size chart into a precise fit promise.
LightCarbon’s current geometry chart treats its rider-height guide as a reference. Compare dimensions with your current setup and resolve conflicting size labels before ordering; height alone does not establish fit.
Check reach to the controls from your intended hand positions and the bar dimensions you are buying. An integrated bar that fits badly is an expensive way to discover that a long ride has several hours.

Choose the gear for the tired climb
Compare your current lowest chainring-to-sprocket ratio with the proposed build. For example, 34/34 is 1.00 and 34/36 is about 0.94; the latter is lower for the same wheel size. This calculation is illustrative, not confirmation that your derailleur supports a 36-tooth sprocket. Check the exact system’s capacity and compatibility.
Give the small items a place
Before buying, specify approved bottle and storage arrangements, a puncture recovery kit and a spare-part plan for proprietary items. Choose tires for the actual roads and check measured clearance. Price the complete build, including the fit and any shop work, before spending the remainder on a lighter component. The frameset-versus-complete-bike cost checklist helps catch the parts and labour a frame price leaves out.
End with a build sheet that explains how the bike helps on that final hour. A saddle you already trust and a gear you can still turn are useful answers. A lower claimed frame weight alone leaves the question open.
Sources
Source review began . Research methodology.