Buying a groupset for a frame build: count parts before counting savings
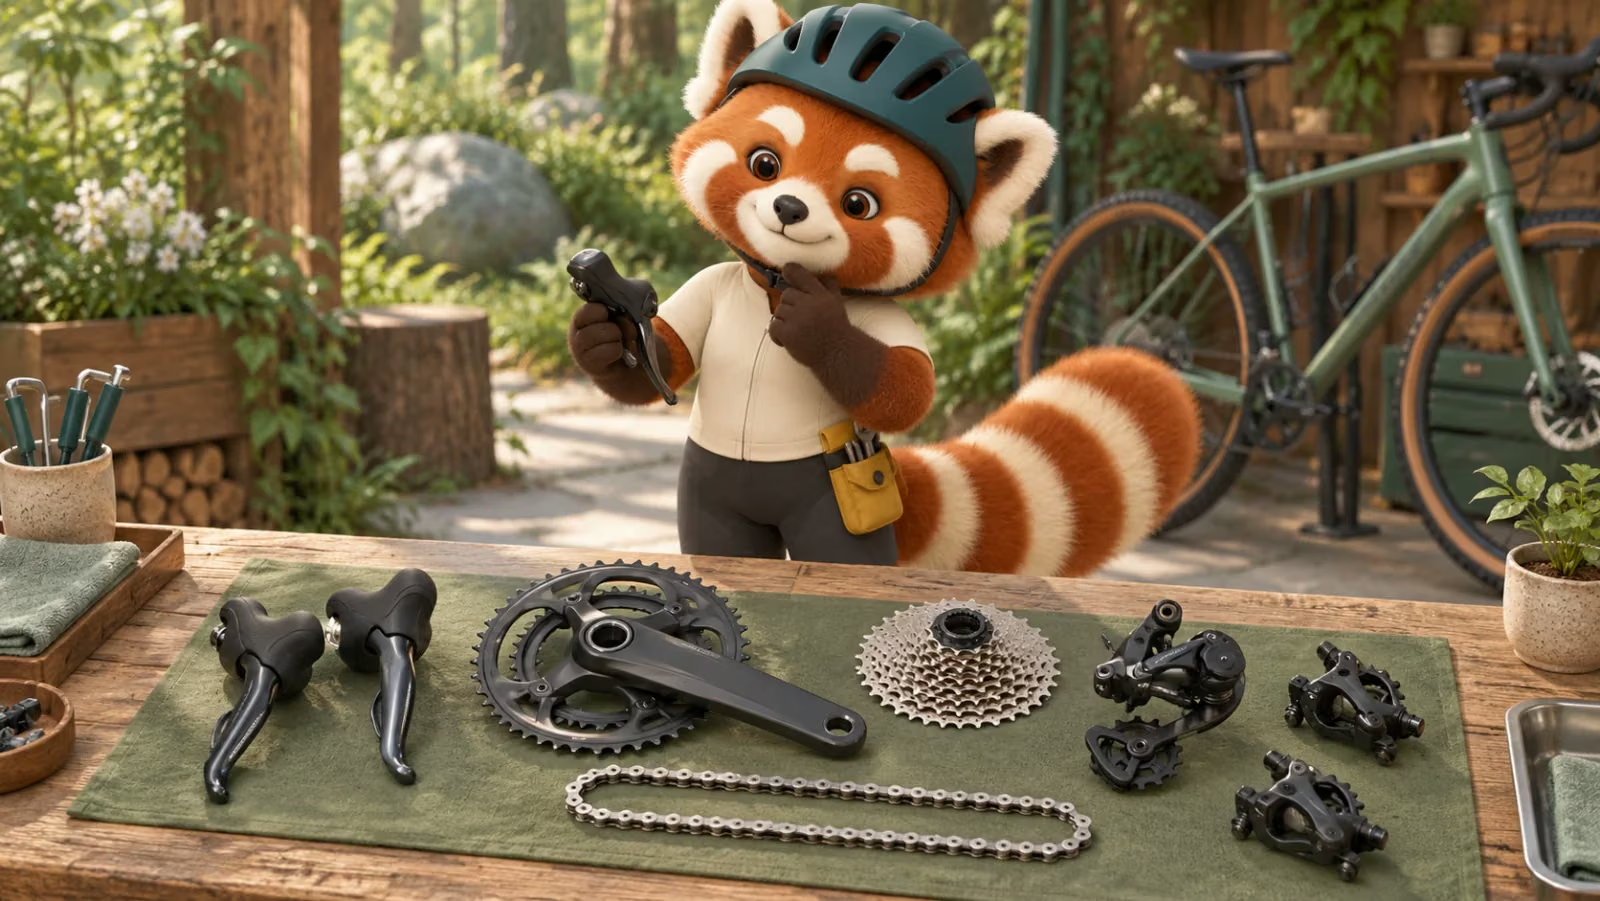
A groupset deal can look complete while leaving out the part that makes the whole system work. Package labels are shorthand. The itemized contents are the purchase.
Do not translate a package name into assumed contents
Retailers use “small groupset” and “large groupset” for different bundles. Ask for model codes and quantities, then mark each row supplied, already owned or still needed. For a 1× build, a front derailleur may be “not applicable”; that is different from accidentally leaving one out of a 2× build.
Resolve any mismatch between the photo and the written list before paying. A photographed rotor does not tell you whether the box contains one or two, their sizes, or their mounting interface.
Groupset inventory — fill in the exact codes
Parts
Details to record
Supplied / owned / needed
Controls and derailleurs
Left / right; exact generation; 1× or 2×
Fill in
Crankset and bottom bracket
Crank length, chainrings, spindle and frame interface
Fill in
Cassette and chain
Speeds, tooth range, freehub and joining link
Fill in
Brakes and hoses
Front / rear calipers; hose and fitting requirements
Begin with the frame’s current documentation, then the component manufacturers’ compatibility information. For Shimano, use the technical-document portal; for SRAM, use its service information. Match actual model codes rather than a family name alone.
Work through bottom bracket and crank spindle, drivetrain generation and speed, freehub and cassette, derailleur mounting, brake mounts and rotors, then routing and cockpit constraints. Unknown should remain an open question for the assembler.
Electronic does not mean accessory-free. Depending on the exact system, batteries, charging equipment, wiring or small mounting parts may still be needed. Ask about the complete system rather than assuming a wireless marketing description covers every connection.
Choose gearing for the ride, then check the combination
Write down your route and load: short fast rides, sustained climbs or luggage change what a useful low gear feels like. Compare a proposed setup with one you have ridden, then have the exact chainring, cassette and derailleur combination checked against the manufacturer’s limits.
For a simple gearing illustration, 34 ÷ 34 gives a lowest ratio of 1.00, while 40 ÷ 44 is about 0.91. With the same wheel and tire, the latter travels less distance per crank turn. These are arithmetic examples, not approved component combinations; check the exact derailleur and chainring specifications before buying.
Do not assume that adding a larger cassette later is a free adjustment. It may affect the permitted derailleur setup and other parts. Likewise, choose crank length as a fit decision, not simply whichever option is discounted.
Ask the workshop for an assembly quote covering routing, cutting and finishing only after it has seen the component list. Installation requirements differ; generic internet torque values are not a replacement for the exact manual.
Count each part once
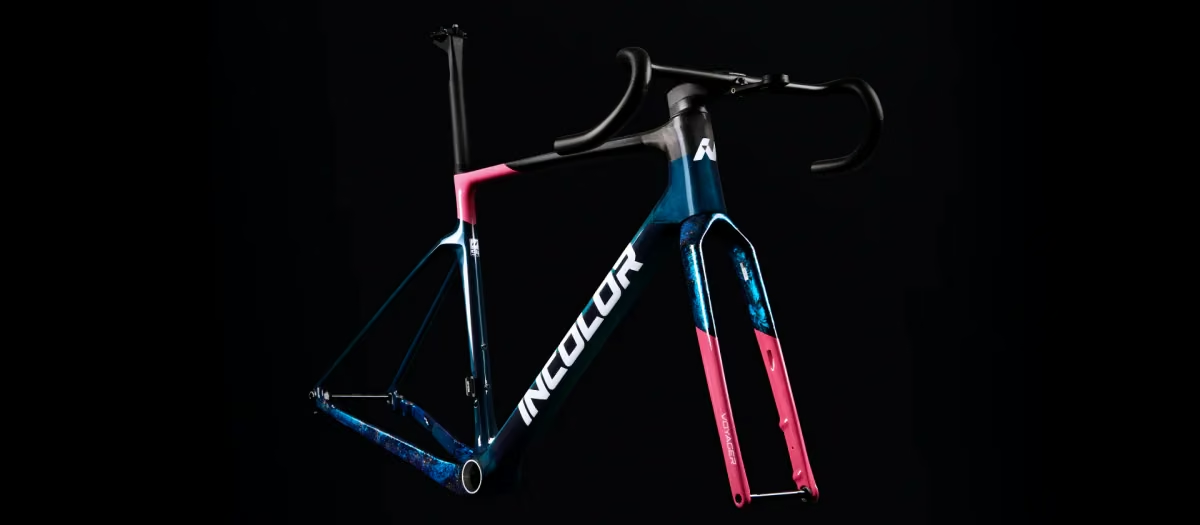
The frameset-versus-complete-bike example shows why package contents matter: adding brakes or a cassette again after a package already includes them inflates the build total. Leaving required accessories out makes the total falsely low.
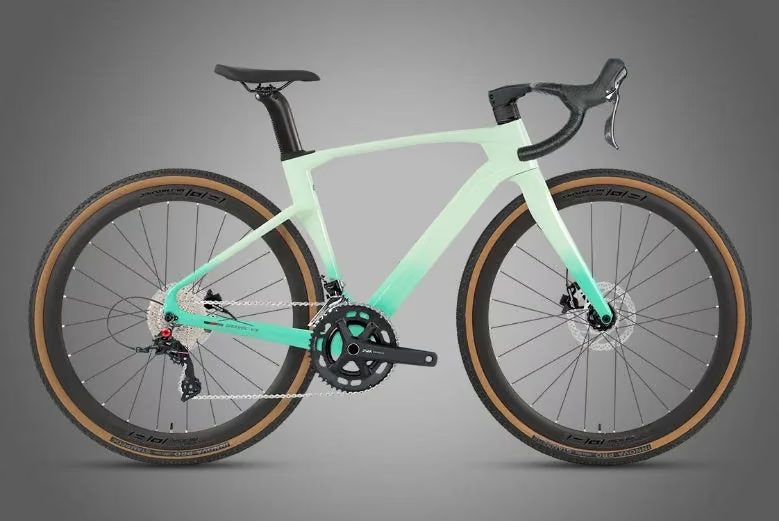
Compare the finished build with a specific complete-bike configuration. The Twitter build pictured here is a complete-bike reference, not a parts list to transfer wholesale to another frame. If you change wheels, gearing or cockpit, update both the cost and the comparison.
Buy when the inventory and interface questions are answered, with a plan for the remaining parts. The best groupset saving is one that survives the mechanic opening every bag.