
Plan a power meter before choosing the crank
Buying a crank now and a power meter later can mean buying a crank twice. Decide where the measurement will live while the build is still on paper. Start with what you want the data for, then find a compatible place to measure it.

Three locations, different constraints
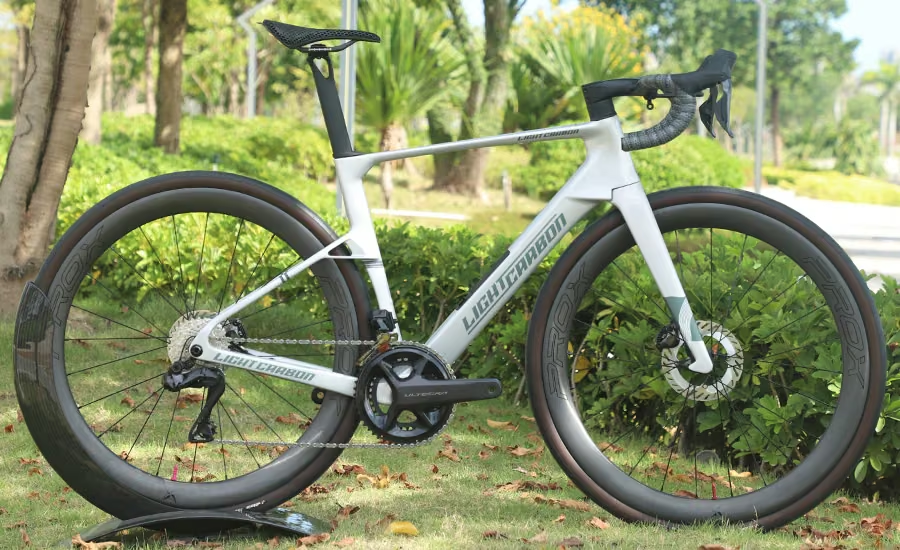
Pedal meters move the compatibility question to pedal threads, cleats, clearance and fit. A left-crank-arm meter needs the correct crank interface, length and space behind the arm. A spider or integrated crank meter ties the purchase more closely to rings, chainline and crank generation. On an LCR018-D build, none of these is approved simply because the bottom bracket accepts the crank spindle.
Know what the displayed total represents
A single-sided meter may estimate total power by doubling one side. In a purely illustrative 48% left/52% right split, doubling the left side reports 96% of the actual total; the balance can vary. That does not make single-sided data useless, but it is different from measuring both sides. Check the actual product’s reporting method and your computer’s supported connection. At an illustrative actual total of 250 W, 120 W from the left becomes a 240 W estimate. This is a calculation about the reporting method, not a sensor-accuracy test.
Complete the purchase sheet
Record meter model, crank length, cleat system, manufacturer clearance requirement, charging/battery method and replacement route. Favero’s model-specific FAQ is a useful example: installation and clearance guidance differs between its pedal families. Do not copy a washer rule from another version.
Include installation and any required parts in the price. Before the first recorded ride, follow setup instructions, enter the correct crank length where required and verify the connected sensor. A useful training tool begins with reliable setup; it does not require the fanciest chart on the computer. For an itemized parts budget, use the frameset-versus-complete-bike cost guide.
Sources
Source review began . Research methodology.